 White
White Blue
Blue Grey
Grey Green
Green Black
Black Pink
Pink Natural
 Purple
 Cream
Cream Orange
 Brown
Brown Red
Red Silver
 Gold
Gold Your Samples
How to Hang Curtains
Here at Unbeatable Blinds we adore our luxury curtains, you will too when you follow these step-by-step instructions to hang your curtains like a professional!How to Hang Eyelet Curtains
Eyelet curtains are simple and easy to hang, but if you need a little extra help or want some tips on how to get a professional finish then we’ve got you covered.
-
Hang your Curtains
Start by feeding each eyelet over your curtain pole, making sure that the leading edge of the curtain is pointing in towards your window. The leading edge is where your curtains meet in the middle.
-
Spacing
For a professional finish, you should position your eyelets equally across the pole to ensure an even gather. Some of our customers use spacers or even toilet roll tubes to help with even spacing! You should position the last eyelet between the bracket that holds your curtain pole in place and the end cap or finial of your pole.
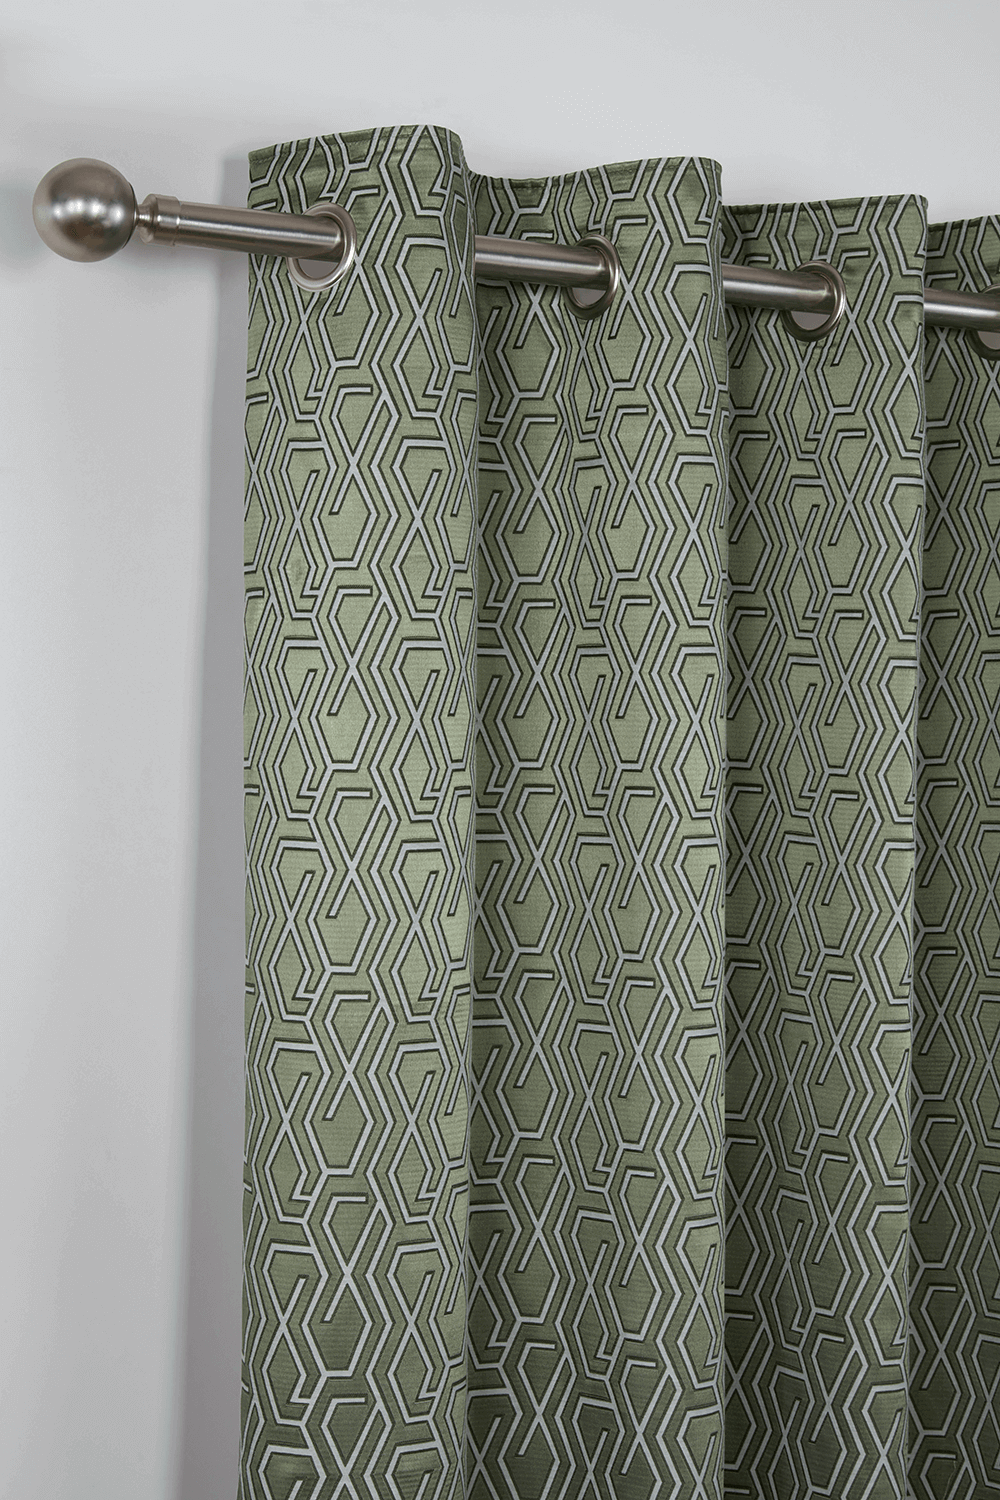
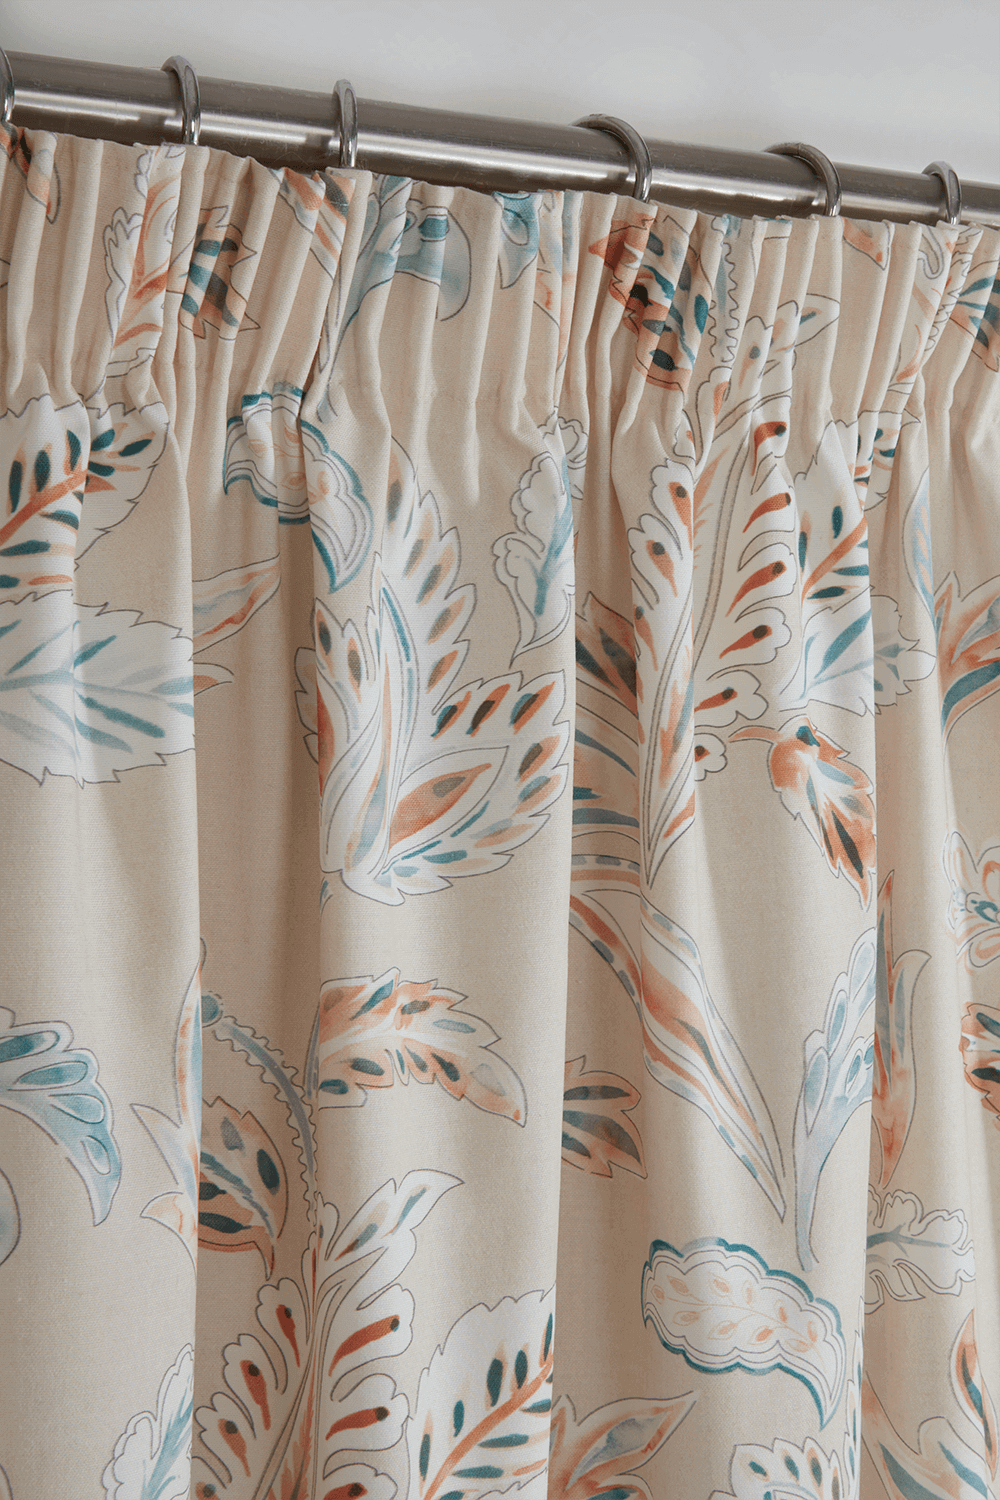
How to Hang Pencil Pleat Curtains
Hanging pencil pleat curtains, does require a little more patience but our instructions walk you through the process step by step. The important thing here is to take your time!
-
Tying the Cords
Start by tying the cords before you gather, if you don’t do this first, your heading tape may unravel when you start gathering. You will need to tie the cords at one end of the heading tape, most people like to tie it off at the leading edge where it will meet the other curtain in the middle of your window. Leave the cords at the other end untied, you will need these to gather the curtain later.
-
Check the Width
Before you start to gather your curtain, double check the width that the curtain needs to be. We recommend gathering the curtain to a few centimetres wider than you actually need, this means there won’t be any need to pull each side of the curtain to get them to meet in the middle once hung.
-
Gathering
Once you have double checked the width, you can begin to gather your curtain fabric. Take hold of the loose cords at the un-tied end and start to pull them. Make sure to pull the cords evenly so that the pleats stay perfectly straight.
-
Tie off the Curtains
Once you are happy with the width and gather of your curtain, you can tie off the cords. Please refrain from cutting the cords as you may want to loosen the curtain in the future when cleaning or if you decide to hang them at a different window.
-
Inserting the Hooks
At this stage, you should take time to make sure your gathers are nice and even. It may take a little time, but it will be worth it!
Start by counting the number of gliders or rings that you have on your track or pole, then half this number. This is the number of hooks that you will require to attach each curtain. Please Note, hooks will not be supplied with your curtains.
Before you secure the hooks in each pocket, it can be beneficial to first place them loosely on top of the heading tape. Distributing your hooks evenly makes all the difference and really gives your curtain that professional looking finish. Make sure to place the hook on the outside edge of the curtain so that when the curtain is closed it will stay secure at the end of your track or pole. You should also consider where you are placing the hook on the leading edge, you’ll want to position it so you have a nice overlap of fabric when your curtain is closed.
You’ll notice that the heading tape has 3 rows of pockets. For curtain tracks you will need to insert the hooks into bottom or middle row, this allows the track to stay hidden by the heading. For poles, insert the hooks into the top row so that the curtain hangs below the curtain pole. Please ensure you insert the hooks into the pockets and not onto the cords!
-
Hang your Curtains
Now that you have everything else in place, you can attach your curtains. If you have opted for a large, heavy fabric it can sometimes be easier to get a little help from a friend. This means one person can hold the weight of the curtains whilst the other attaches them to the pole or track.
If you are attaching your curtains to a pole, the final hook should be placed between the bracket and the finial or end cap of your rod. If you are fitting to a track, attach it to the fixed glider at the end of the track.
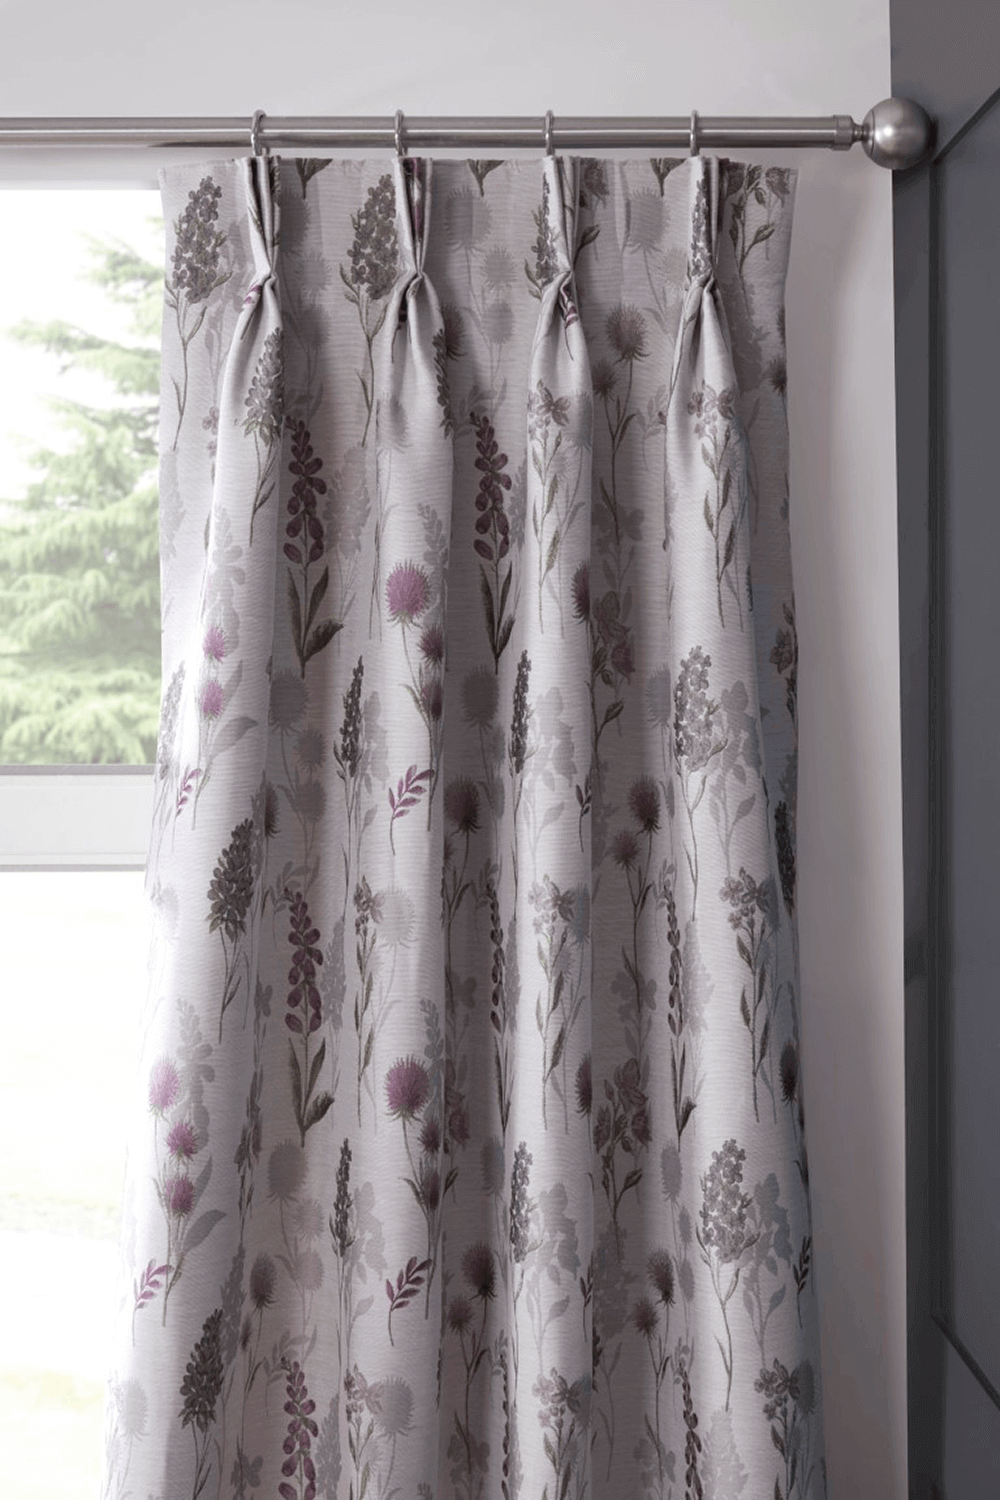
How to Hang Pinch Pleat Curtains
Pinch pleat curtains are beautifully pleated for you so they’ll be up and looking lovely in no time!
-
Positioning the Hooks
First you will need to decide on the position of the hooks that sits behind the pleat. If you have a curtain pole then move the hook to the top of the heading to make sure your curtain hangs below the pole. If you have a track, position the hook towards the middle so that it will be hidden by the heading.
-
Check Track Gliders/Pole Rings
Before you hang your curtains, you should make sure you have the same amount of track gliders or pole rings as you have pleats. Once you have checked these match, you can begin hooking them through.
-
Hang your Curtains
Now you can start hanging your curtains. If you have a curtain pole, attach the final curtain hook between bracket and the end cap of your pole. If you are using a curtain track, attach it to the fixed glider at the end.
Now that you’ve managed to hang your curtains like a professional, take a seat, relax and enjoy the warmth and luxurious finish they provide!