Made to Measure
Right here in the UK


Right here in the UK

At the lowest prices

by 1st class post

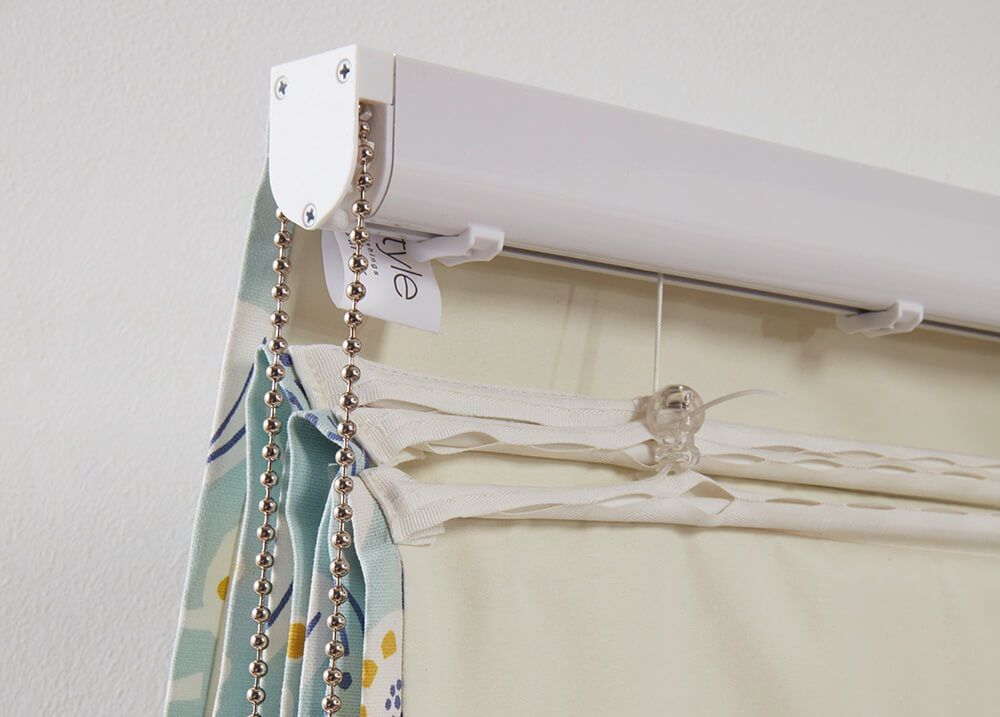
Learn how to string or restring a roman blind using tried and true methods from our team of experts here at Unbeatable Blinds. In this guide we walk you through the process, from threading the cords to adjusting the blind for perfect alignment. Follow each step and you’ll have your blinds up and working good as new in no time!
The steps below also cover how to restring a roman blind if you’re planning on replacing old cords.
If you’re replacing the strings on an old roman blind, you should begin by detaching the fabric from the headrail. Most Roman blinds are secured using Velcro strips making it easy to detach them without damaging the fabric or headrail. Once removed, lay the blind flat on a clean surface to prevent any dirt or creases.
If re-stringing, locate the old cords on the back of the blind and carefully cut them away from the blind. Ensure all strings are fully removed, including any knots or tangles, to allow for a smooth re-threading. Once complete, your blind is ready for fresh cords.
Starting from the top of the blind, take your new cord and thread it through each eyelet, moving downward. Once at the bottom, secure the cord by threading it through the safety device. Now you’ll need to decide which side you want the pull cord will be on—this will affect the threading direction in the next step.
To attach the blind, align and press the Velcro strips on the top of the blind and the batten together. If possible, stand in front of the window, behind the blind, so you can easily reach the batten’s eyelets. This will make threading the cords easier.
Thread each cord through the corresponding eyelets on the batten. Depending on which side you’ve chosen for the pull cord, either work from left to right (for a left-sided pull cord) or right to left (for a right-sided pull cord). Once threaded, gather all the loose ends and thread them through your wooden acorn. Make sure you tie a loose knot to prevent the cords from slipping back through the eyelets and leave some excess cord for adjustments later.
Test the blind by raising and lowering it a few times to ensure it sits level. When the blind is fully lowered, determine where the wooden acorn should rest—typically it should sit a short distance from the last eyelet on the batten. Tie a knot just above the acorn to keep the cords together and trim off the excess cord. The knot should be hidden inside the acorn when it’s pulled down over it.
If the blind is uneven after your adjustments, you can fine-tune it by pulling the cords through the safety devices at the bottom of the blind. Adjust the length of each cord until the blind hangs evenly.
For safety, especially in homes with children, the child-safety device should be installed at least 1.5 meters above the floor. Secure it to the wall using two screws. Once secure in the wall, wrap the cord tightly around the cleat to prevent any loose ends from dangling.
Once the cords are threaded, adjusted, and the child-safety device is installed, your Roman blind is ready for use. Remember, this guide not only shows how to string a roman blind, but it’s also helpful for restringing and replacing old parts too! Follow it step-by-step and you’ll be able to keep your blinds in top condition for years to come.
Yes, if your roman blind is sitting unevenly or not working correctly it can be a good idea to replace the string cords. Follow our steps above on how to restring a roman blind to ensure everything goes smoothly. If you’ve purchased a made to measure roman blind from Unbeatable Blinds, you may find your blinds are still under warranty if purchased within the last year. If so, contact our customer support team and we may be able to replace your roman blind for free!
Generally, heavy duty, non-stretch polyester is used to string roman blinds. You should be able to find this easily online or at local textile or DIY shop.

